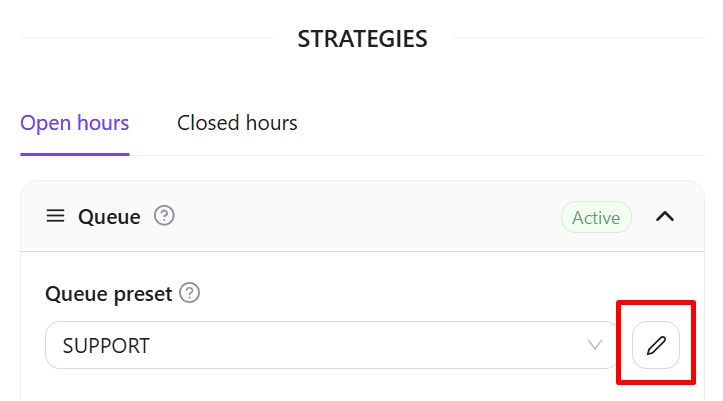
2.2.2. Calls settings. Queue strategy
The Tellq system allows you to fully manage incoming (IN) calls according to your needs.
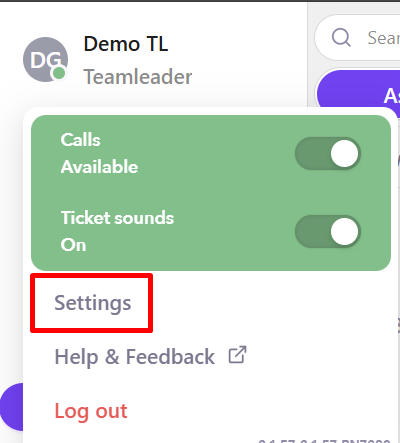
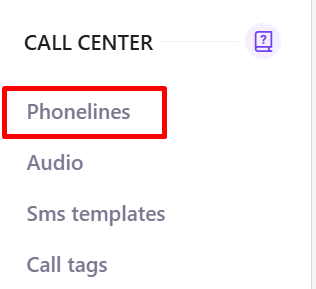
You can change the settings at any time in TL >> Settings >> Phonelines:

By selecting the Queue strategy, the incoming (IN) calls will immediately be directed to the agents you have specified.
‼️VIDEO (To enlarge the video, hold down the CTRL key and scroll the mouse wheel)
Let's go through the IN call settings step by step:
- Phoneline name - you will see this name when receiving a call and in the statistics:

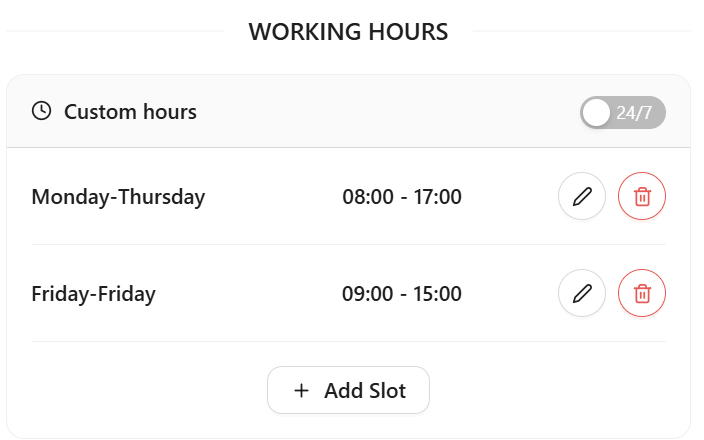
- Set the number's working hours:
If clients can call the number 24/7 -> select 'Always open';
If you have specific working hours -> select 'Custom Hours' and set them accordingly.
If the working hours vary, for example, Monday to Friday you work from 9 AM to 6 PM, and on Saturday from 10 AM to 3 PM -> you can add different working times, for example:
- Add the necessary employees (agents) to the number:
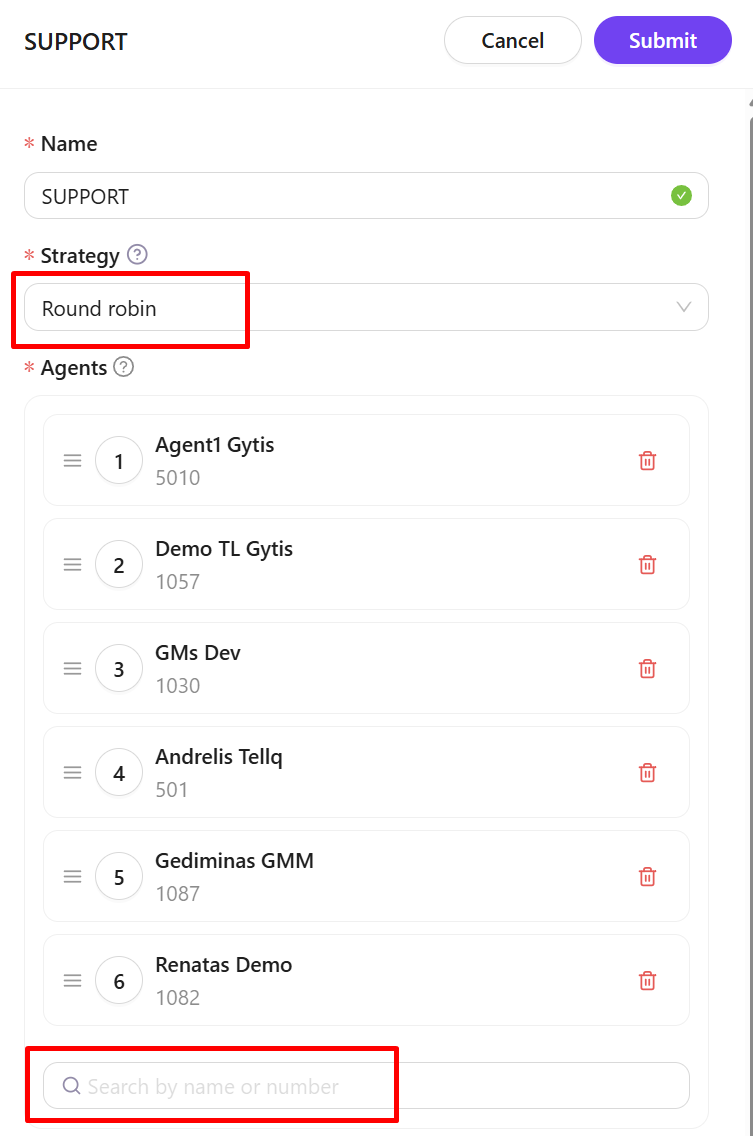
- According to your needs, select other settings:
Queue Strategy: choose the order in which calls will be distributed to employees (popular strategies include Round Robin, where calls are distributed to agents in turn, or Ring All, where calls ring to all agents simultaneously).
Welcome Message: a greeting message that plays before the client's call is routed to agents. Companies often use a message like, 'Hello, you have reached Company X. We will record your call; if you agree, please hold.'
Hold Music: you can change the waiting music.
Periodic Voice Message: you can set a message that will repeat while the client is waiting for an answer, e.g., 'We apologize; all consultants are currently busy. Please hold.'
Time Out: you can set how long the client can wait at most. For example, if you set it to 3 minutes, after 3 minutes the client may hear a message saying, 'We apologize; we have noted your call and will contact you shortly.' The system will then end the call, and agents will see a missed call from the client. Additionally, with this setting, the client can receive an SMS message or leave a voice message.
It is also possible to set the call to be automatically forwarded to another number after your specified time (e.g., 3 minutes):

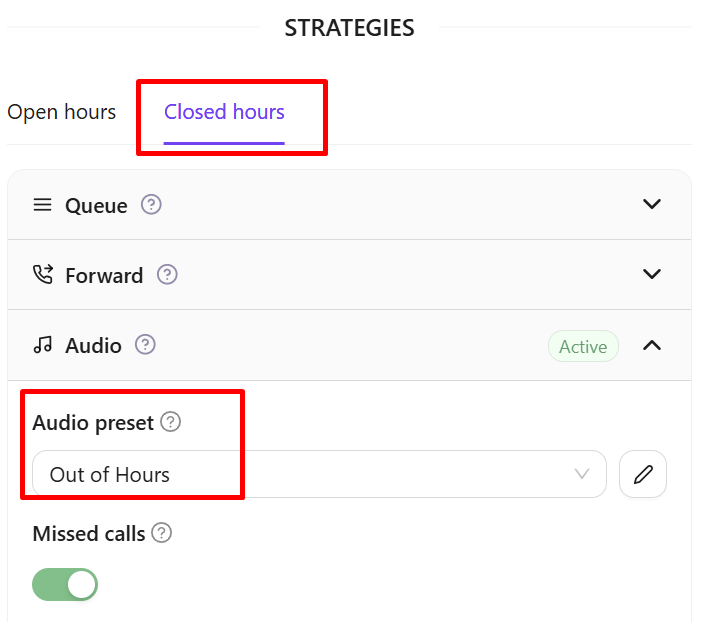
Important! If you have set working hours, be sure to also set a scenario for non-working hours. Click 'During close hours' and choose the desired setting for non-working time. Companies often select an audio message saying, 'We are currently closed.' You can upload the audio message here: